Welcome to the one-year-anniversary post of Make A Thing! Here, for the past year, we’ve been make handmade gifts for people! Or ourselves. Or our cats. Mostly our cats.
Header by Rory Midhani
Can you believe we’ve been making things for a whole year together? Can you believe I am still making things after all this time? Me either!
We’ve had a good year, thing-makers. We started out with customized mugs and look where we are now. As my three-year-old niece says, “we’re growing up fast!”
Let’s celebrate with a cake! And what kind of a cake would it be without cake toppers?! I’m actually pretty obsessed with cake toppers. Not like the traditional wedding kind (although those are adorable, too, of course) but the birthday or anniversary or standard twee Pinterest kind.
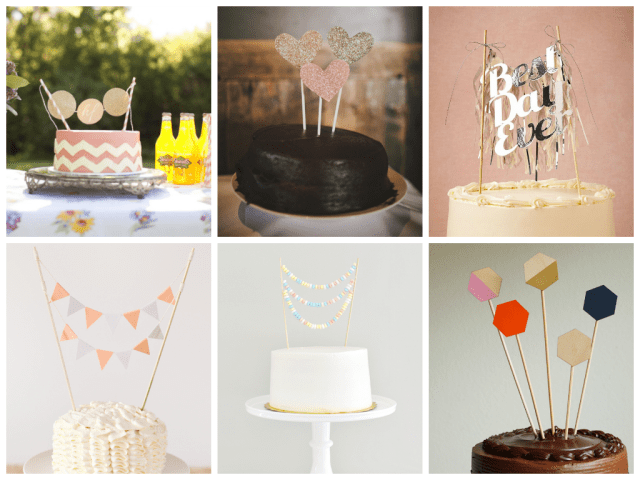
L to R, top row, via {Love and Lavender, 100 Layer Cake, Love and Lavender}
L to R, bottom row, via {Oh So Pretty Party, Best Friends For Frosting, Minted}
First, you must have a cake. I’ll allow pies and cupcakes, this time, but only because I love you. We have lots of cakes to choose from! Take a wander through our Get Baked recipes where you can find delicious recipes for Dani’s Triple Threat Vegan Cheesecake, Carolyn’s Dairy-Free Apple Cake, Stef’s Pear Polenta Tart and Vanessa’s Chocolate Peanut Butter Cookie Dough S’more Cupcakes, among maybe one or two million more. My lady companion and I made a rainbow cake because we love to dirty up all the dishes in my house and make aforementioned three-year-old really jealous of our food dye skillz.
Now that you have a cake, onto the cake toppers!
Sparkly Star Cake Toppers
Supplies Needed:
+ Cardstock
+ Mod Podge or Glue
+ Glitter
+ Wooden skewers
+ Tape
+ A cake of sorts, I suppose, would be in order
Level of Difficulty: Easier than the intricate details of food dye preparation for a rainbow cake, that’s for damn sure.

1. Draw your stars (or whatever shape you so desire, like hearts or diamonds or letters to make up a word) on cardstock and cut them out.
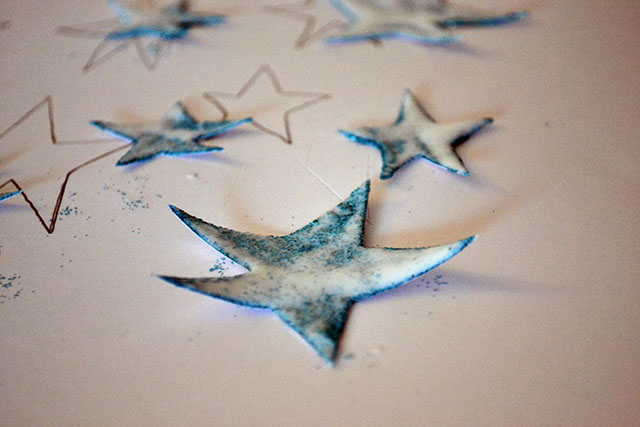
2. Cover your cut out stars with mod podge, add glitter, cover with more mod podge. Let dry.
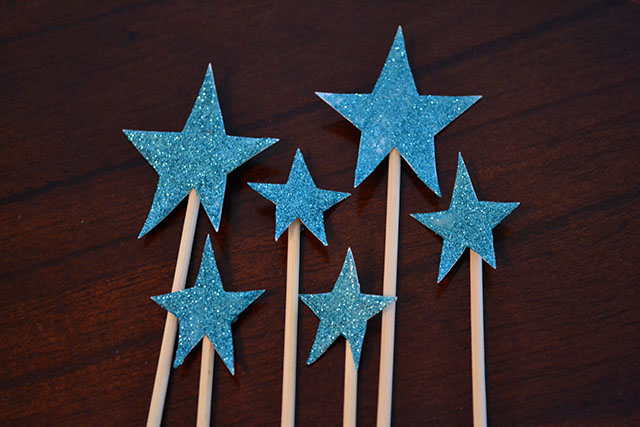
3. Tape them onto the bamboo skewers, cut at different lengths for your artistic design needs. We tried to cut them with scissors, which it turns out doesn’t work at all, and then we resorted to just breaking the skewers with our hands and cutting off the sinewy edges.
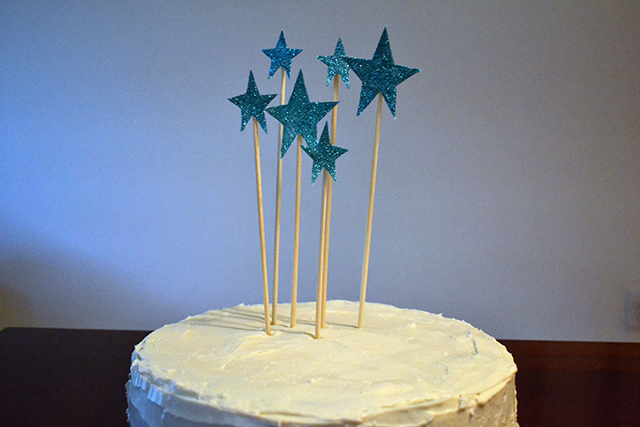
4. Stick them in your cake. Yay! That’s it! I told you this was easy.
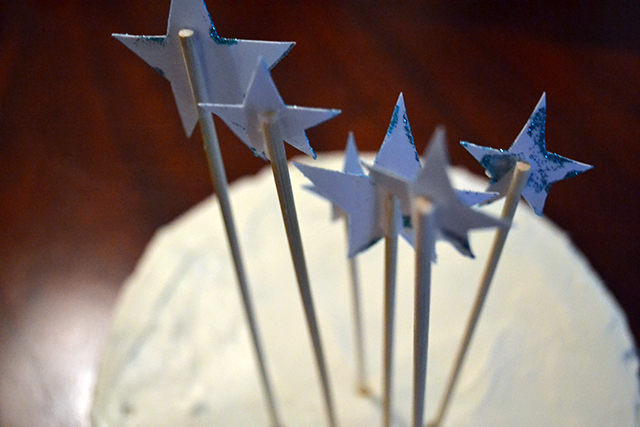
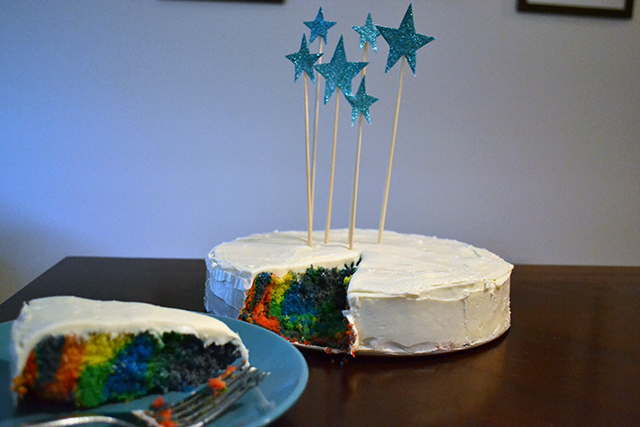
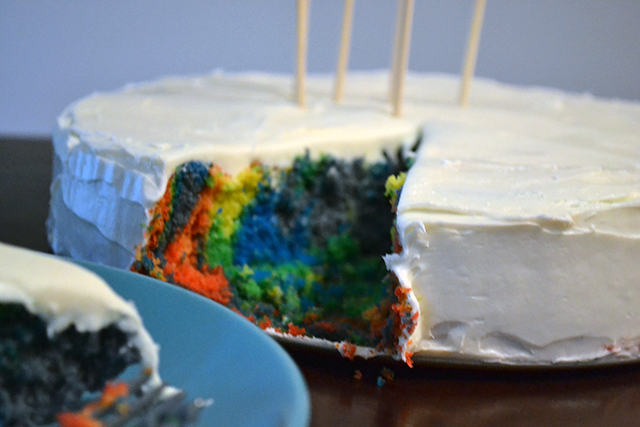
Try sticking them in your pumpkin pie for Thanksgiving or a tiny cupcake for your best friend’s birthday. Hell, I’m sure they’re even adorable in that stack of pancakes you’re going to give to your girlfriend in bed tomorrow (pro tip: chocolate chip pancakes, always go with chocolate chip pancakes).



ADORBS
As my three-year-old niece says, “we’re growing up fast!” <----I love your niece and also these cake toppers.
this is so so gay and so so perfect and i will be making these for my birthday cake next month
I need an occasion for these.
Having cake is occasion enough.
“First, you must have a cake. I’ll allow pies and cupcakes, this time, but only because I love you. ”
TEAM PIE TEAM PIE TEAM PIE
happy anniversary hansen!
I love making things!!!! Gotta do this for the birthday next year!
to cut skewers use pliers (specifically the bit near the fulcrum typically used to cut wire) to make a cut which circumnavigates said skewer to a depth of about 1/8th of the diameter, then use the pliers to grip the skewer about 3mm away from the cut on the end you want to keep while snapping the waste end off with your other hand. Sand or whittle off any rough edges.