It’s the holigay season! It’s time to do cozy things and get gifts for your loved ones. I figured I would do you a solid and tackle both of those things in one fun post! Last month we made a variety of homey candles and this month we’re learning how to make DIY soap. Nothing is more queer than making your own soap with intention and love to give to your holiday office/school/local barista/Trader Joe’s crush.
Unlike my candle adventures, soap-making is very new to me and I’m still trying to figure out the best mixtures and methods. This guide does not include making soap from scratch. We have less than a week until Christmas so no one has the emotional effort left in them for that. Or, even if you do, you don’t have time to experiment with what works best. We want a quick, homemade, fairly inexpensive gift to have at our disposal for those office Christmas parties happening next week or your in-laws who say that don’t want anything. Let’s do it!
How To Make Soap with An Aloe Soap Base
You’ll need to gather some ingredients from around the house, in addition to ordering some online.
The soap base and silicone molds create the foundation and personality of the soaps, so you’ll want to put some thought into what might work best for you. I decided to try an aloe base and an oatmeal base. The aloe will give the soap a translucent appearance and it will also have anti-inflammatory properties. The oatmeal will come out a creme color and will be more moisturizing. As for the molds, you can get a generic square or rectangle for pretty cheap. I decided to try a pack with the classic rectangle, a round flower design, and a rectangular wave-looking design. Soap is pretty easy to get out of silicone, so you won’t need to worry about the intricacy of the design as much as you would with, for example, resin.
Once you have your soap base and mold picked out, you’ll need your mix-ins ready to go. I am an essential oils hoarder, so I used a variety of little potions I have. A classic oil like lavender or eucalyptus will always be a big hit. Additionally, you can add other properties to give the soap texture or style. I have a collection of dried flowers I bought from Amazon just for craft making, so I paired the lavender flowers with the lavender scent. You can also use natural ingredients from around the house like lemon zest or whole oats. Many blogs online suggest using food coloring, but the thought of rubbing the chemicals into my hands repeatedly didn’t feel comfortable to me. I didn’t have any vibrant fruit on me, but if you have any type of berry you can blend that to a puree, strain it, and use a little bit in the soap to make a natural dye.

Melt the aloe soap base first. I melted mine over the stove on low heat, but you can also melt the base in sections in a microwave safe bowl.

Once the base melts down, you can either pour it into each individual mold and then mix in the scents and add-ons, or you can do it all in the pot. I chose to make each bar individually since I wanted to try different methods.
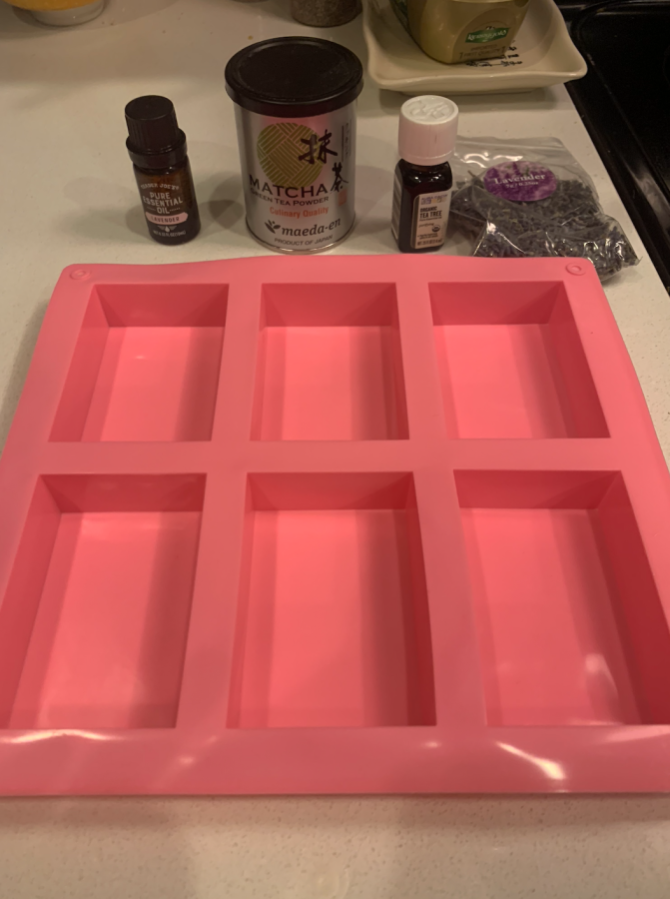
For the first three bars I decided to go out on a limb and combine tea tree essential oil with a little water and matcha powder to give it a naturally green hue. I’ll be honest, it didn’t turn out well. You’ll want to vigorously mix the matcha into the water, but even then the matcha can come out grainy and uneven. Use at your own risk.
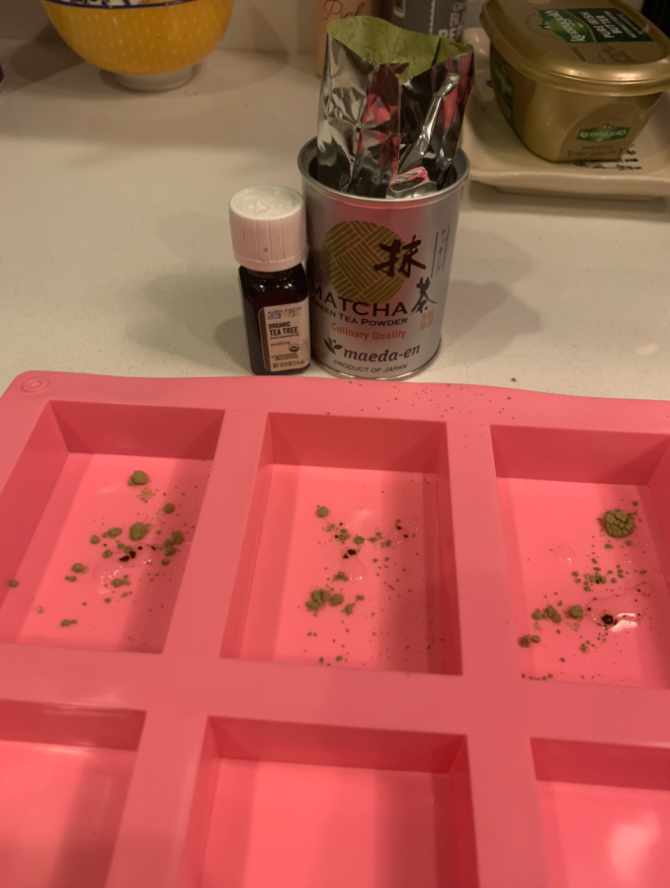
For the other three bars I mixed a drop or two of lavender essential oil with a bit of water and dried lavender for each individual rectangle. I, then, poured the hot soap base into all of the molds, making sure to mix them each so the oils spread throughout the bar.

Now, just let it sit overnight so that it can harden and dry.
How To Make Soap with An Oatmeal Soap Base
Melt the oatmeal soap base first. Once again, I melted mine over the stove on low heat, but you can also melt the base in sections in a microwave safe bowl. I used the oatmeal soap base and the two decorative molds.

While the oatmeal bars melt down, prepare your mix-ins. I decided that all four of my wave-looking bars would be menthol-scented. I have an oil mix created for clogged sinuses, so this can be a fun gift to give during cold weather months. Two of my flowery round molds will be peppermint scented and the other two will have hints of lemon.

Similar to the water and oil technique I used for the aloe bars, I put a few drops of my scent into the base of the molds and mixed it with a little water. I poured it into the base, mixed it together, and let it sit overnight.

I, then, melted more blocks of oatmeal soap base and prepared my round soap molds. For two of the molds, I dropped in a hint of peppermint oil with some water, and for the other two molds I decided to be adventorous. I took some black unsweetened tea from our fridge and mixed it into the bottom of the mold with the lemon oil to create the effect of a warm cup tea. I also wanted to make sure I could visually tell each grouping of bars from each other.
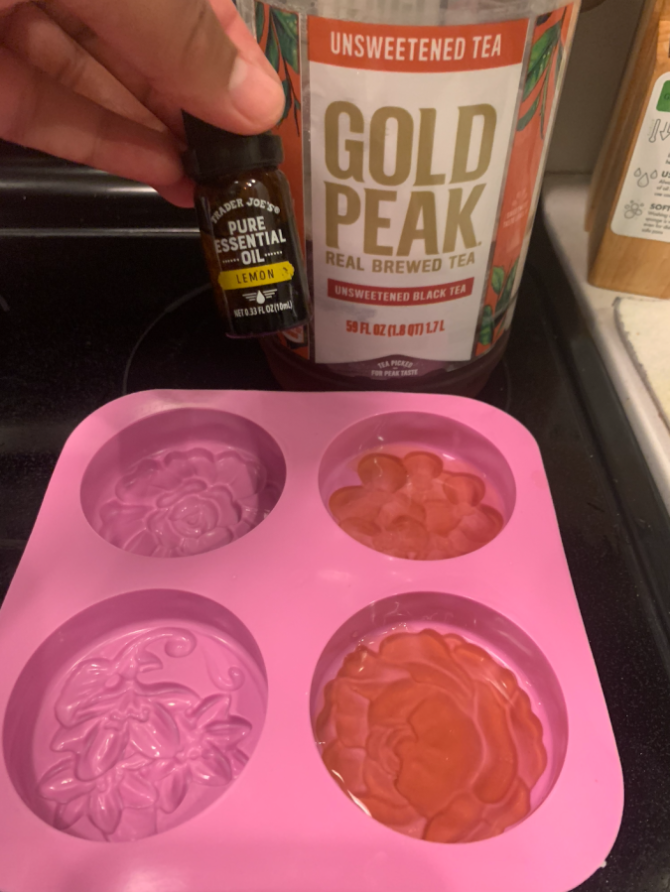
Remember to use different utensils for bars with different scents so you don’t mix two scents together. I used chopsticks… it’s truly DIY in my home.

Now, you just let all of it set overnight! I let mine cool for about 9 hours before removing them from the molds, but they could’ve sit a few hours more.
In the end, the aloe texture came out slimier than I expected, but the oatmeal bars held their shape and texture almost perfectly! If I were to do this again, I would make them in larger batches where I mix the oils in with the soap base in the pot. I think mixing them in with the water individually left the bars slightly uncured.
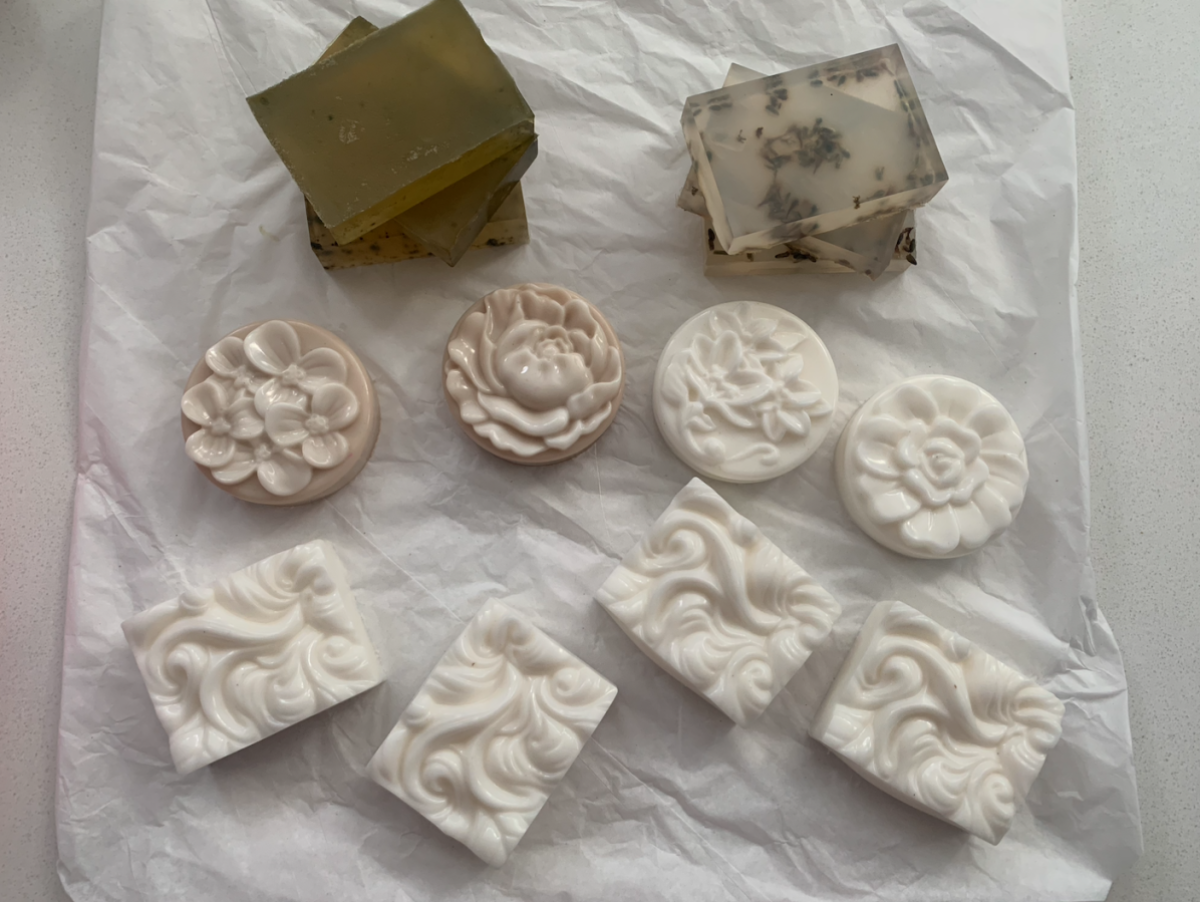
All you need to do now is wrap it up to make it look like a little hallmark handmade present! I bought some rustic string from IKEA for about $3 and tried a few different yarn wraps. While this certainly doesn’t look perfect, it gives you that fireplace winter vibe that we’re craving. Another great option is finding cute fabric gift bags to pop them in.
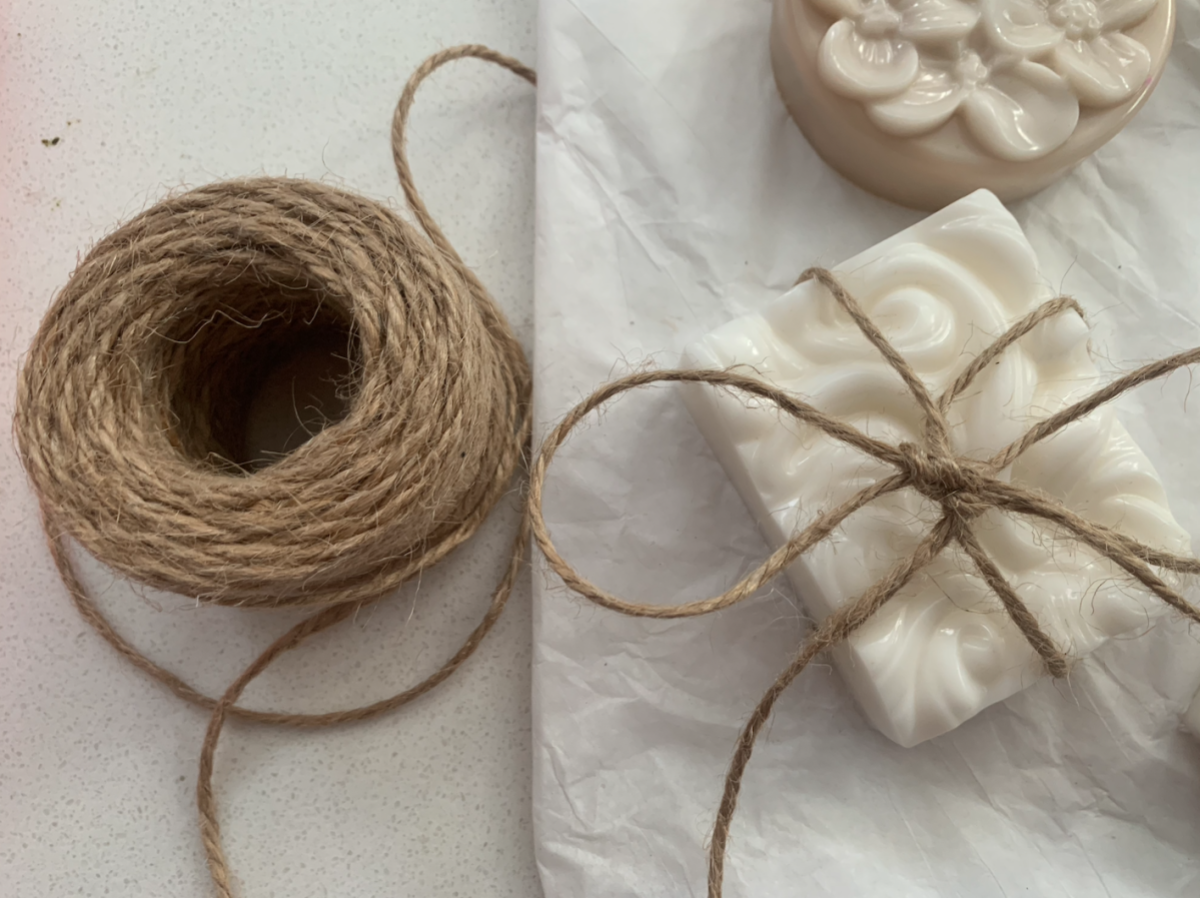
Let me know in the comments if you have any tips or tricks. Happy soap making and happy holigays!


This is a really fun-looking project. I’ll just have to remember they’re not for eating!